Apache server installation on Ubuntu
The Apache HTTP Server is one of the most widely used web servers in the world. This tutorial will demonstrate how to install it on a VPS server running Ubuntu Server and how to change its default site.
Firstly, perform the Apache installation:
# apt update
# apt install apache2
Next, you can access the default Apache test site hosted on your VPS server. To do this, open a web browser and enter the IP address of your VPS server. The IP address is located in your account panel.# apt install apache2
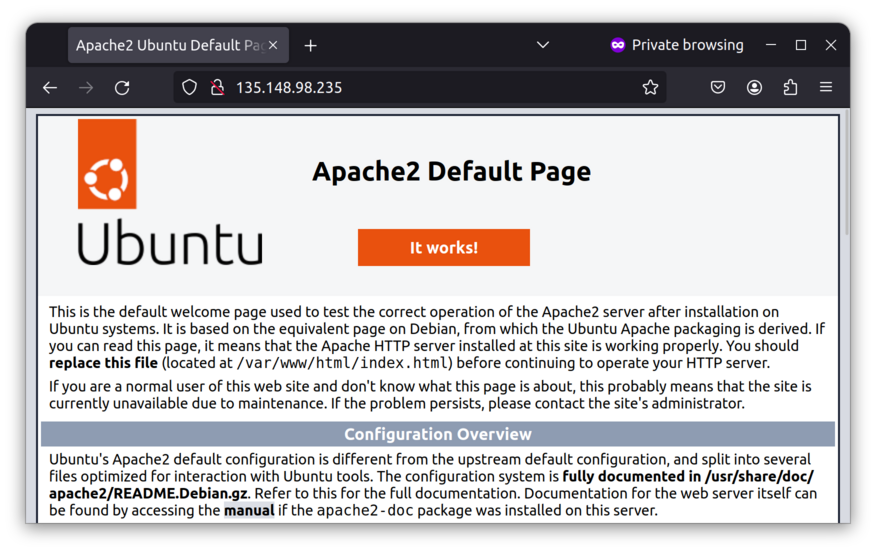 The files for the site shown above are located in /var/www/html. You can place your site's files in this directory, and they will be displayed at the same address.
# cd /var/www/html
# rm index.html
# touch index.html
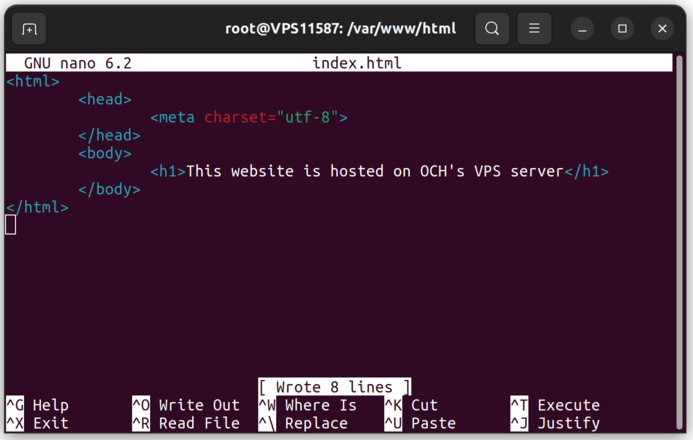
# nano index.html
After opening the text editor, write a small HTML code just to test the site's functionality. The code below follows the standard HTML structure and defines only a text header.# rm index.html
# touch index.html
# nano index.html
 Refreshing the test site page, you will see the result:
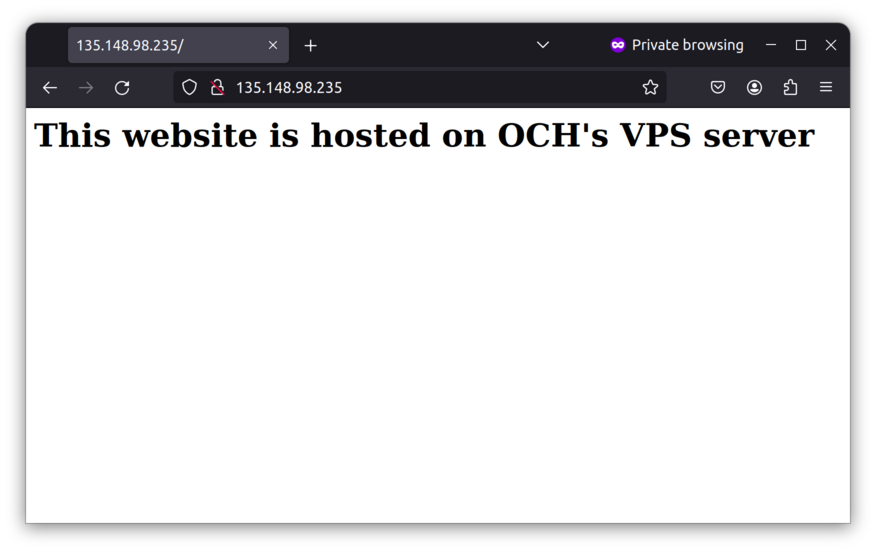 Simple, isn't it? You can now place other files of your site in the same directory. The home page should be named index.html. There are also other important Apache directories that will be demonstrated in other tutorials. They are:
- /etc/apache2/mods-available
- /etc/apache2/sites-available
- /var/log/apache2
If you have any difficulties, open a support ticket:
och.center/support
See you soon,
OCH