Free SSL certificate with Apache and Let's Encrypt
In this tutorial, we will demonstrate how to make your website more secure with an SSL certificate using Apache and LetsEncrypt. The installation and configuration of the Apache HTTP server were covered in another tutorial. We will use Ubuntu Server in this tutorial.
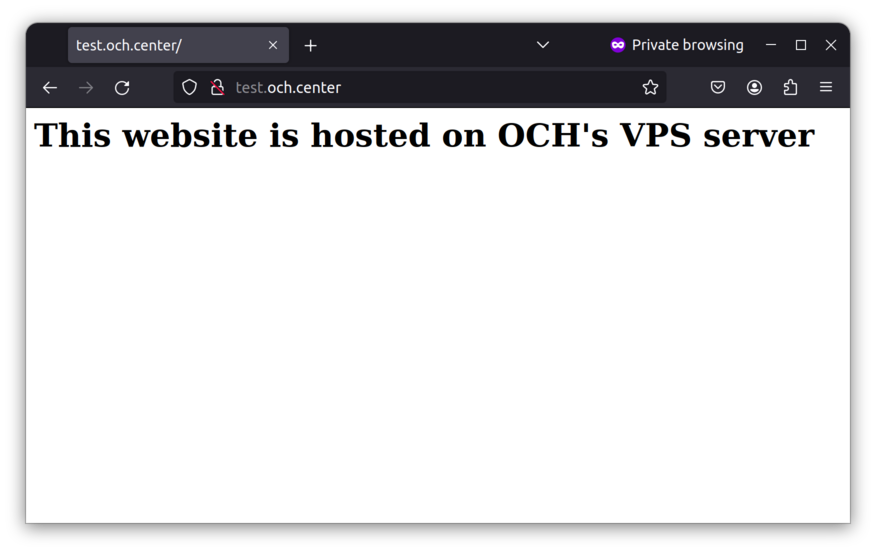
First, make sure that the website hosted on your VPS server is accessible and has a domain name associated with it, as shown in the example below. Note the "Not secure" mark next to the domain. This indicates that the connection to this server is not yet encrypted using an SSL certificate.
 Next, install Certbot/LetsEncrypt:
# apt install certbot python3-certbot-apache
With Certbot installed, use the following command to start the process:
# certbot --apache
During the process, you will be asked a few questions. First, enter your email address. It will be used to notify you about the expiration of the SSL certificate. Second, enter "Y" to accept the software terms. Third, enter "N" to refuse sharing your email. Finally, type the domain for which you want to activate the SSL certificate.
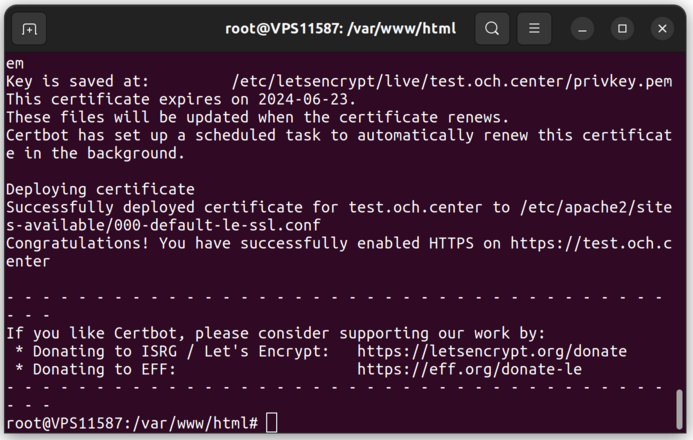 In this message, you can see the expiration date of your SSL certificate. By default, LetsEncrypt SSL certificates expire 3 months after their generation. CertBot will automatically issue a new certificate days before expiration, so there is no need to issue a new one manually.
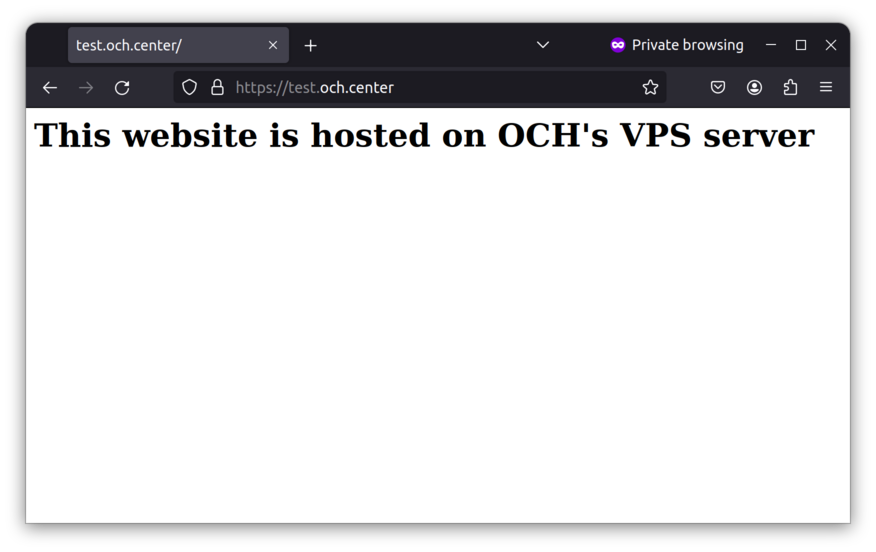 Accessing the site again, you will notice that the "Secure" mark is now displayed, indicating that data is now encrypted using the previously generated SSL certificate.
If you have any difficulties, open a support ticket:
och.center/support
See you soon,
OCH